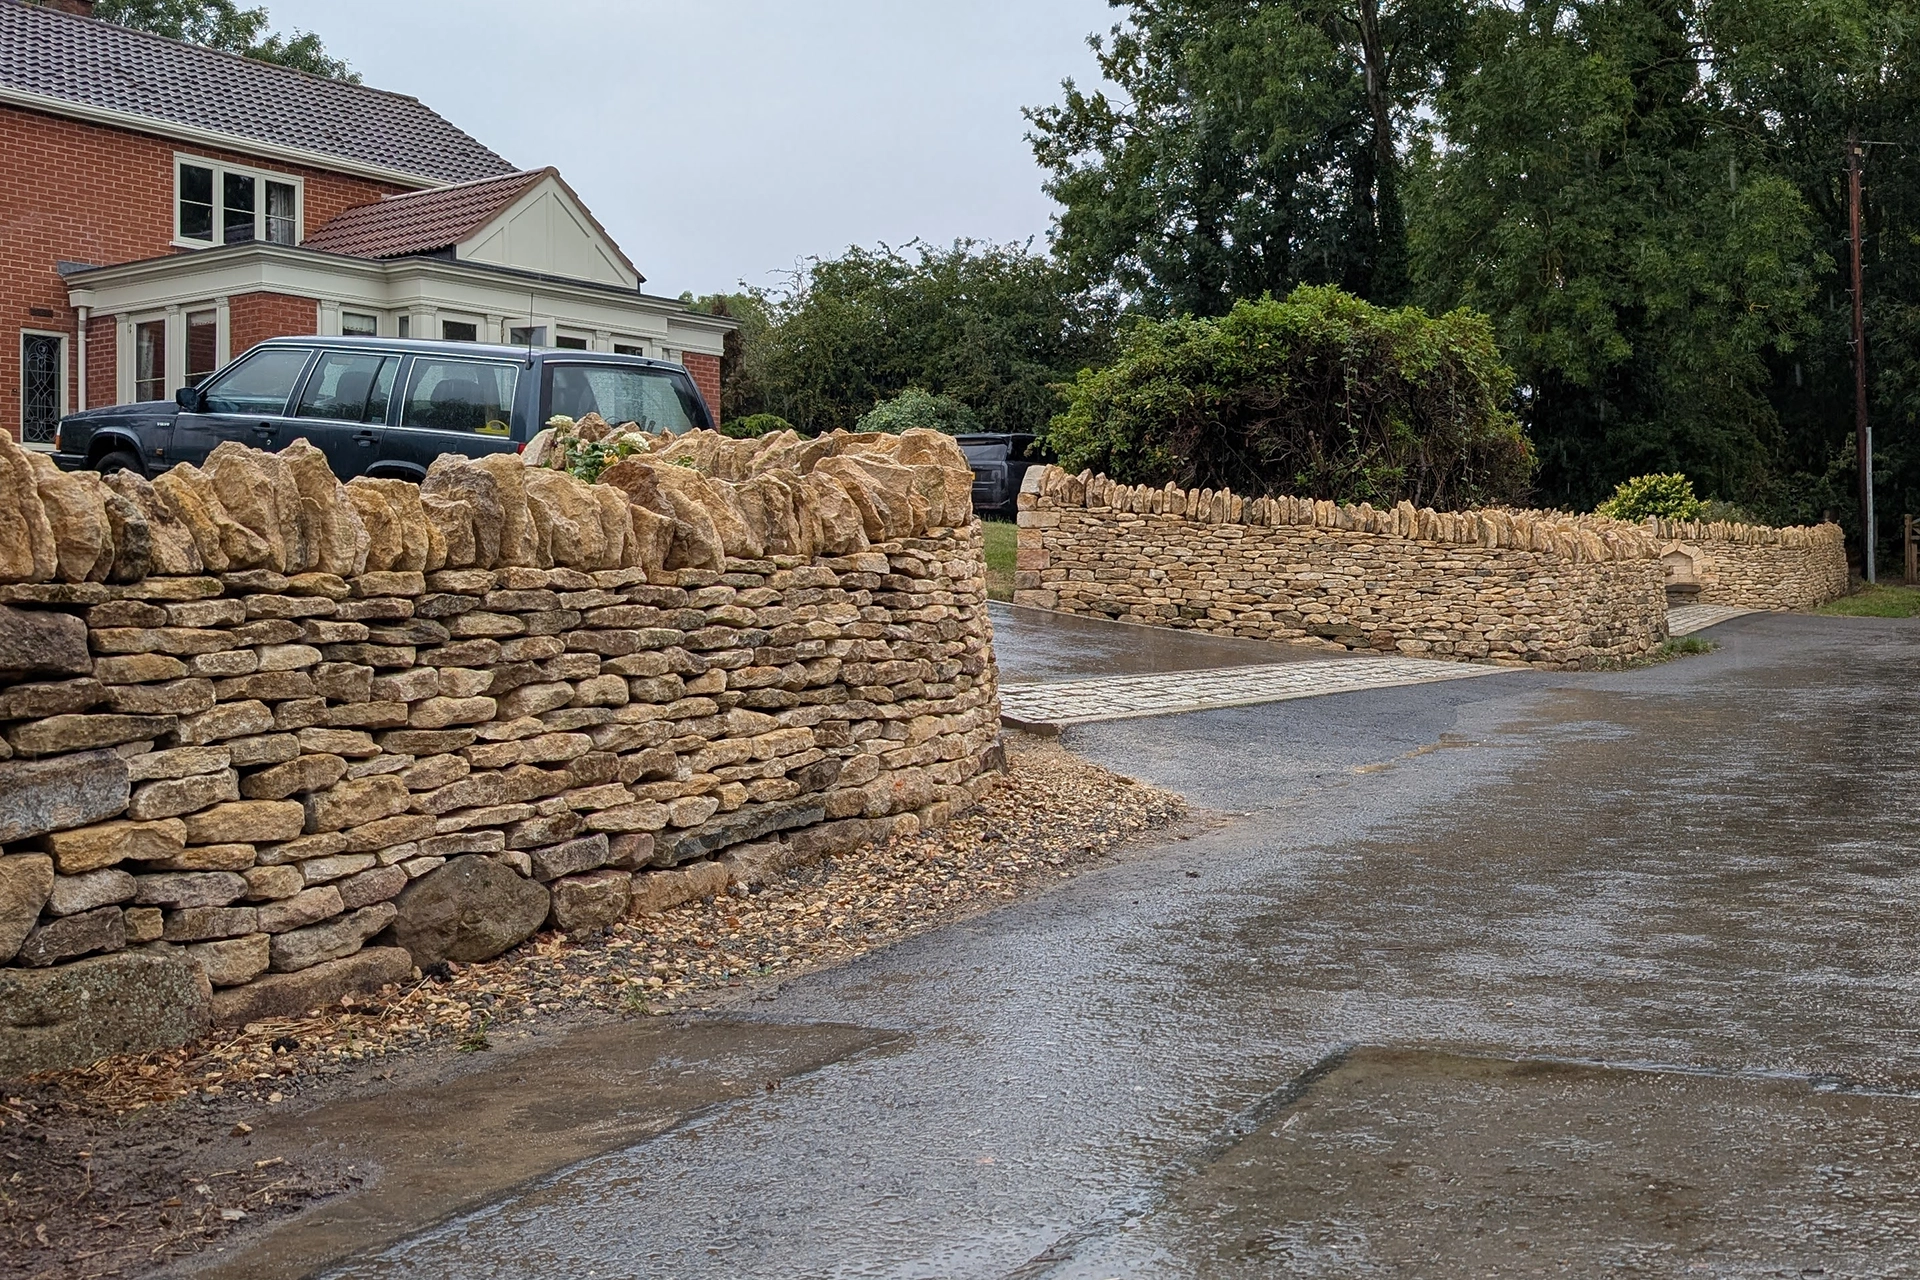
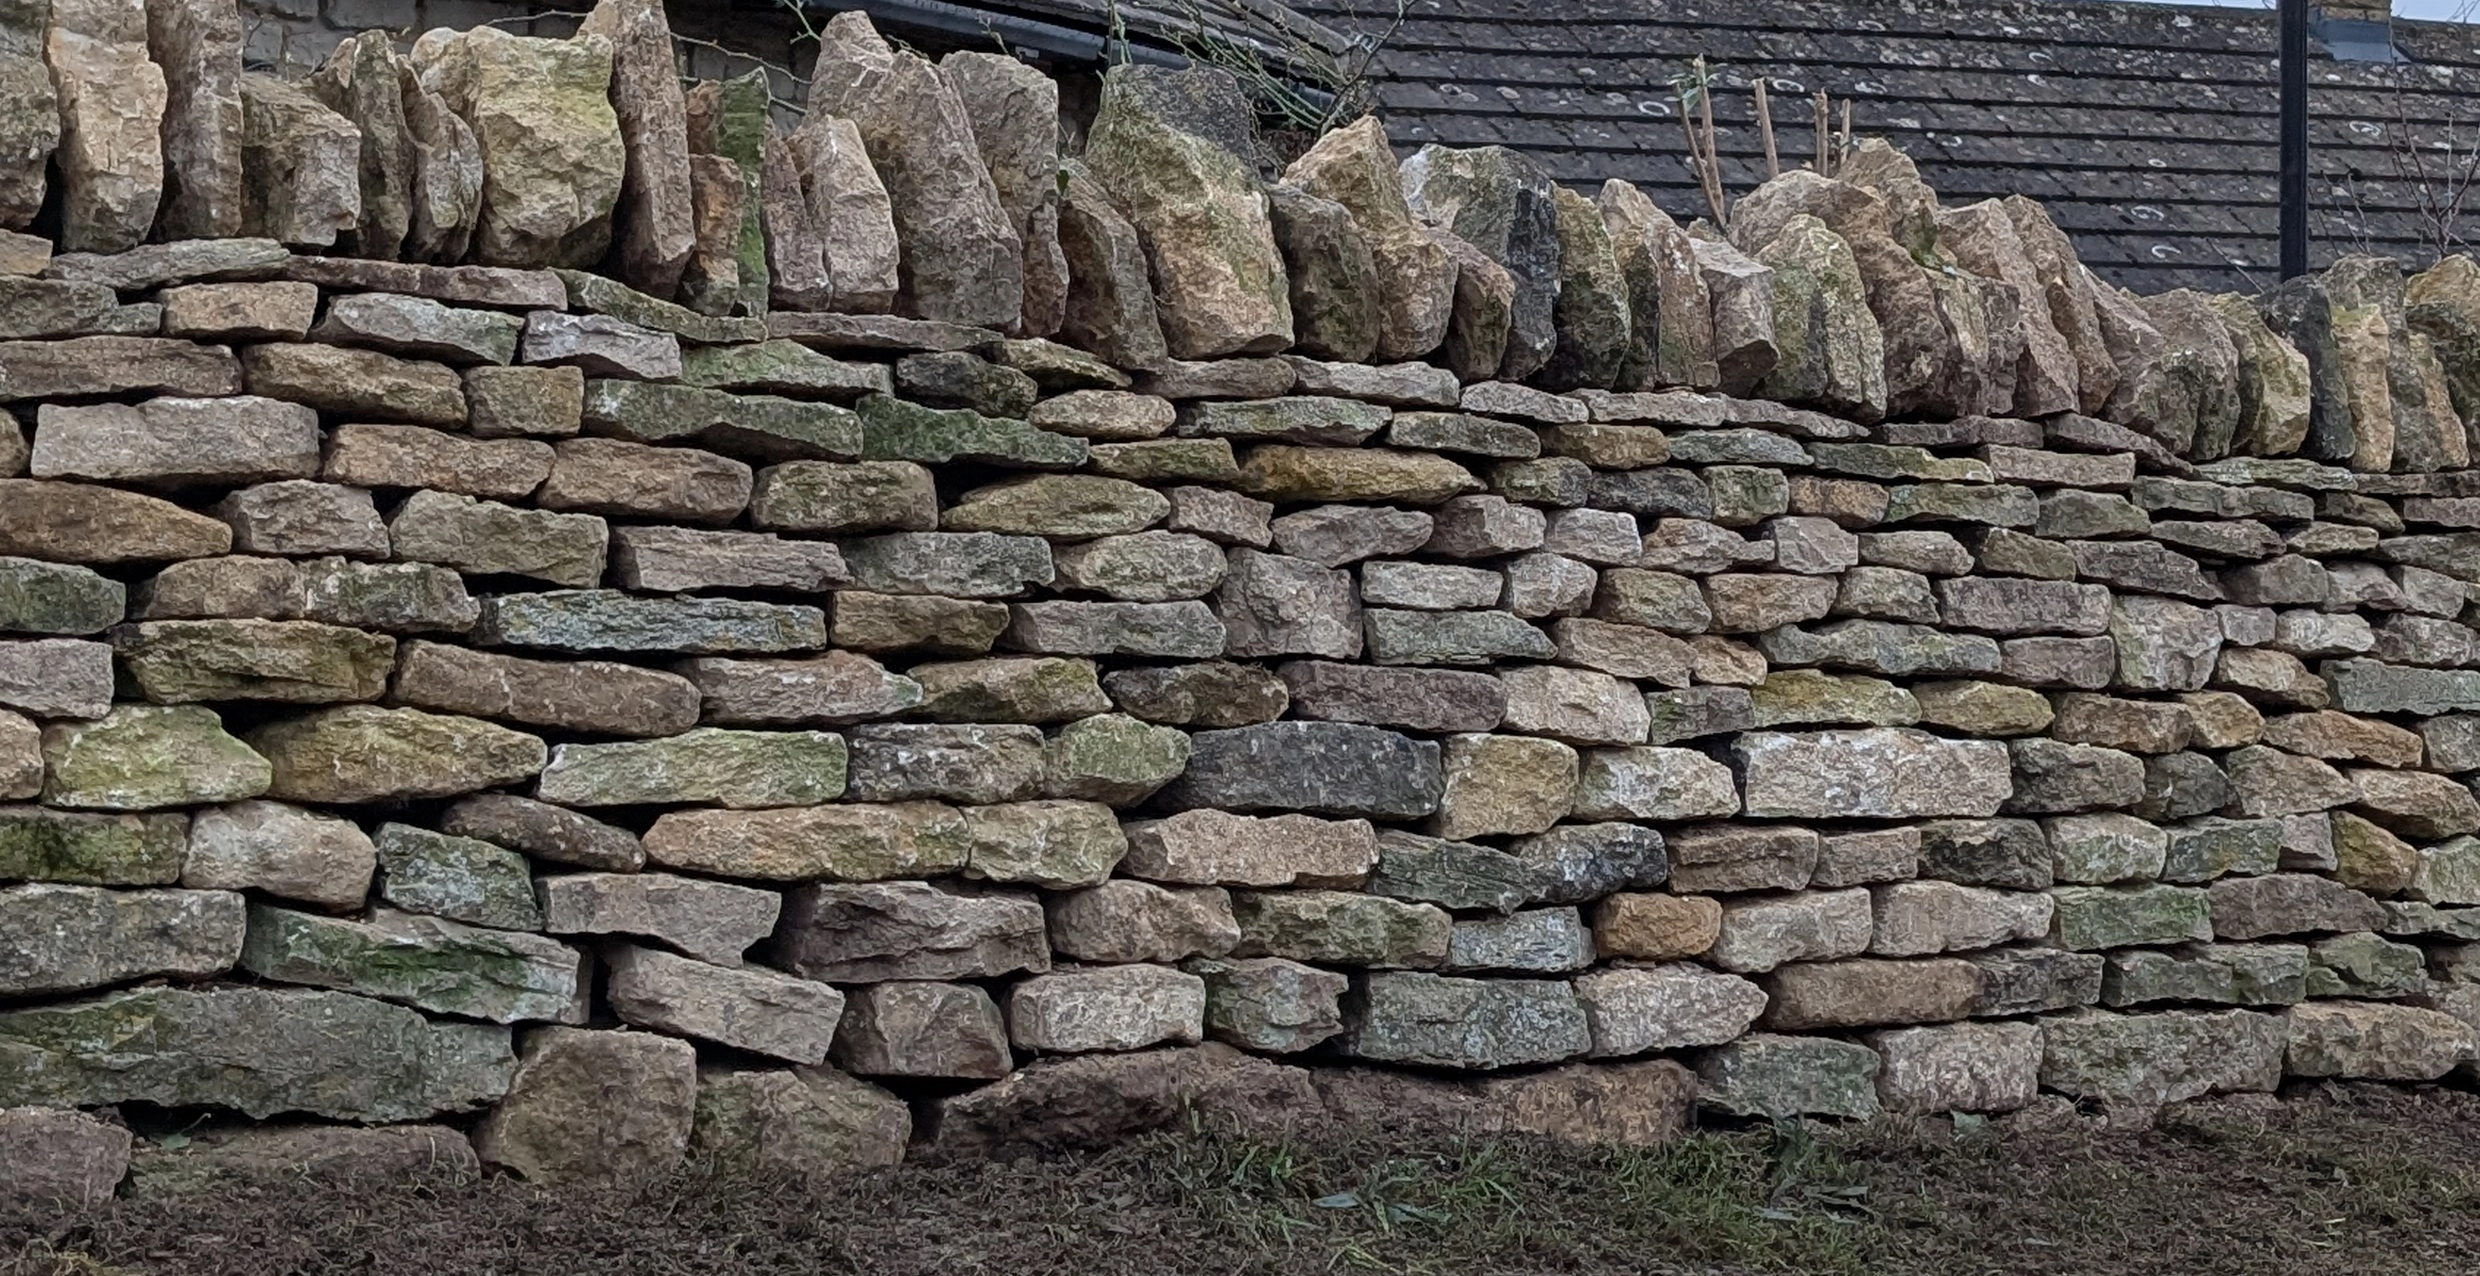
Dry stone walls are a defining feature of the British landscape, found throughout the British isles. Built without mortar and relying purely on skill, gravity and stone selection, a well-built dry stone wall can last for generations.
This guide explains how to build a dry stone wall step by step, the materials required, common mistakes to avoid, and when it’s best to involve a professional. Whether you’re a DIY builder or looking to hire an experienced dry stone waller, this guide will help you understand the process from start to finish.
This guide is written by Jack Fitzhugh, a professional dry stone waller qualified with the DSWA, with active experience building walls across the East Midlands through his company The Ammonite Walling Co. and technical director here at Cranford Ironstone Co.
A dry stone wall is constructed using carefully selected and placed stone without mortar. Strength comes from:
Dry stone walls are commonly used for:

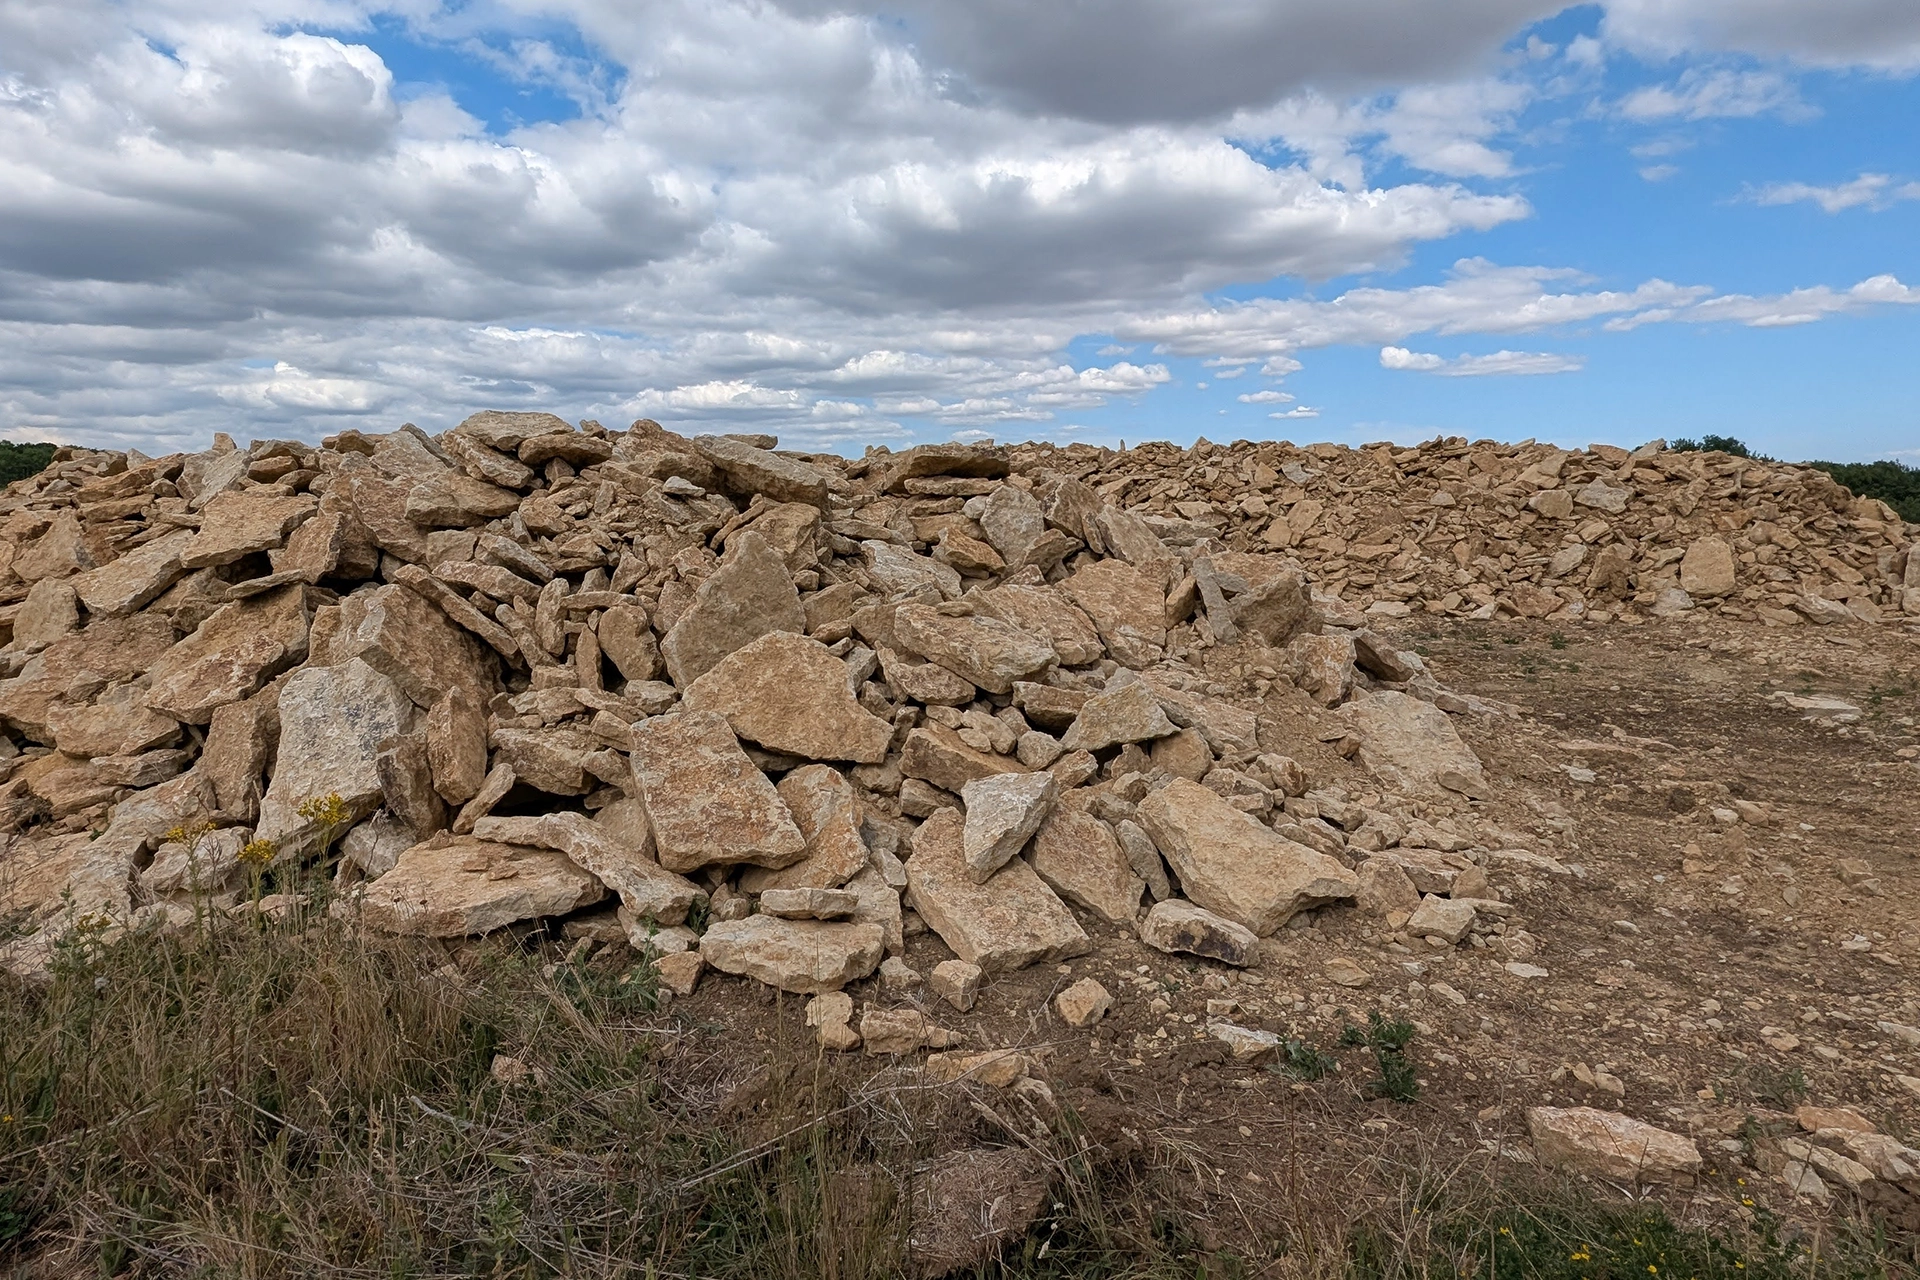
Choosing the right stone is one of the most important parts of building a successful wall.
We supply limestone random dry stone walling, suitable for both traditional and modern builds, including:
Stone can be supplied in bulk bags or tipped loose, depending on site access and preference. We also offer free site visits to discuss your project and help calculate quantities.
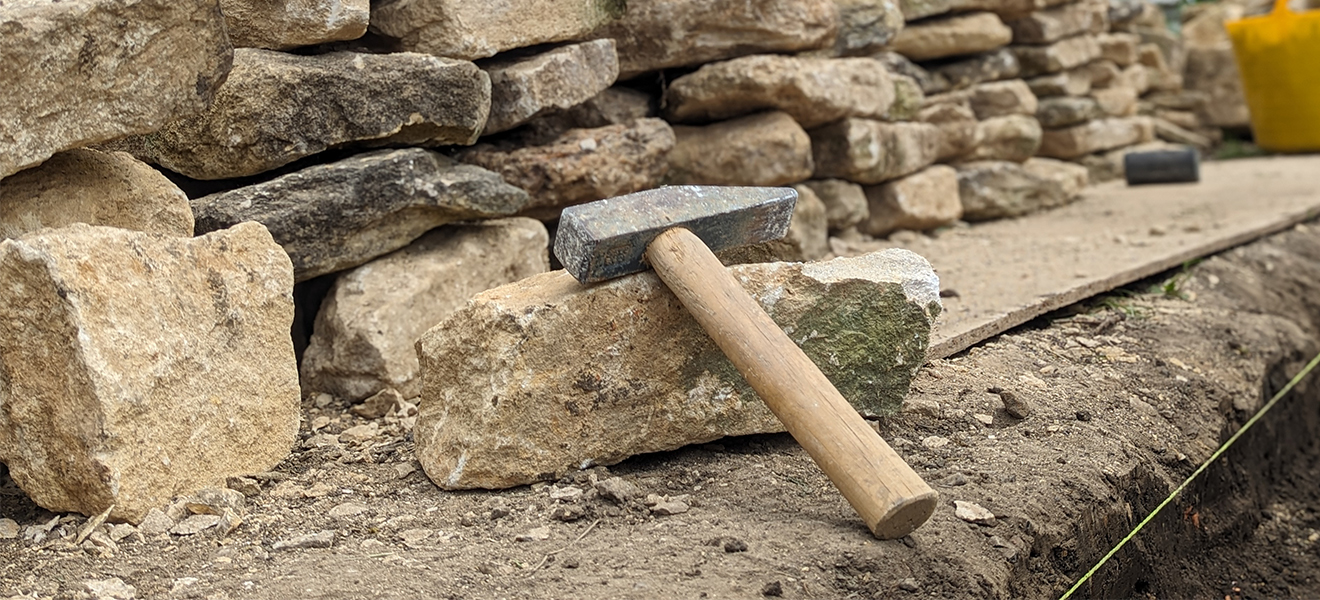
Basic tools needed include:
No specialist machinery is required, but patience and good stone selection are essential.
Mark the line of the wall using string lines. Dry stone walls are built with a slight batter (leaning inwards), so the base should be wider than the top.
You can use wooden formers or steel rods to mark out the profile of the wall. The string lines will run the length of the wall between the formers and ensure neat, even courses as well as a nice straight wall.
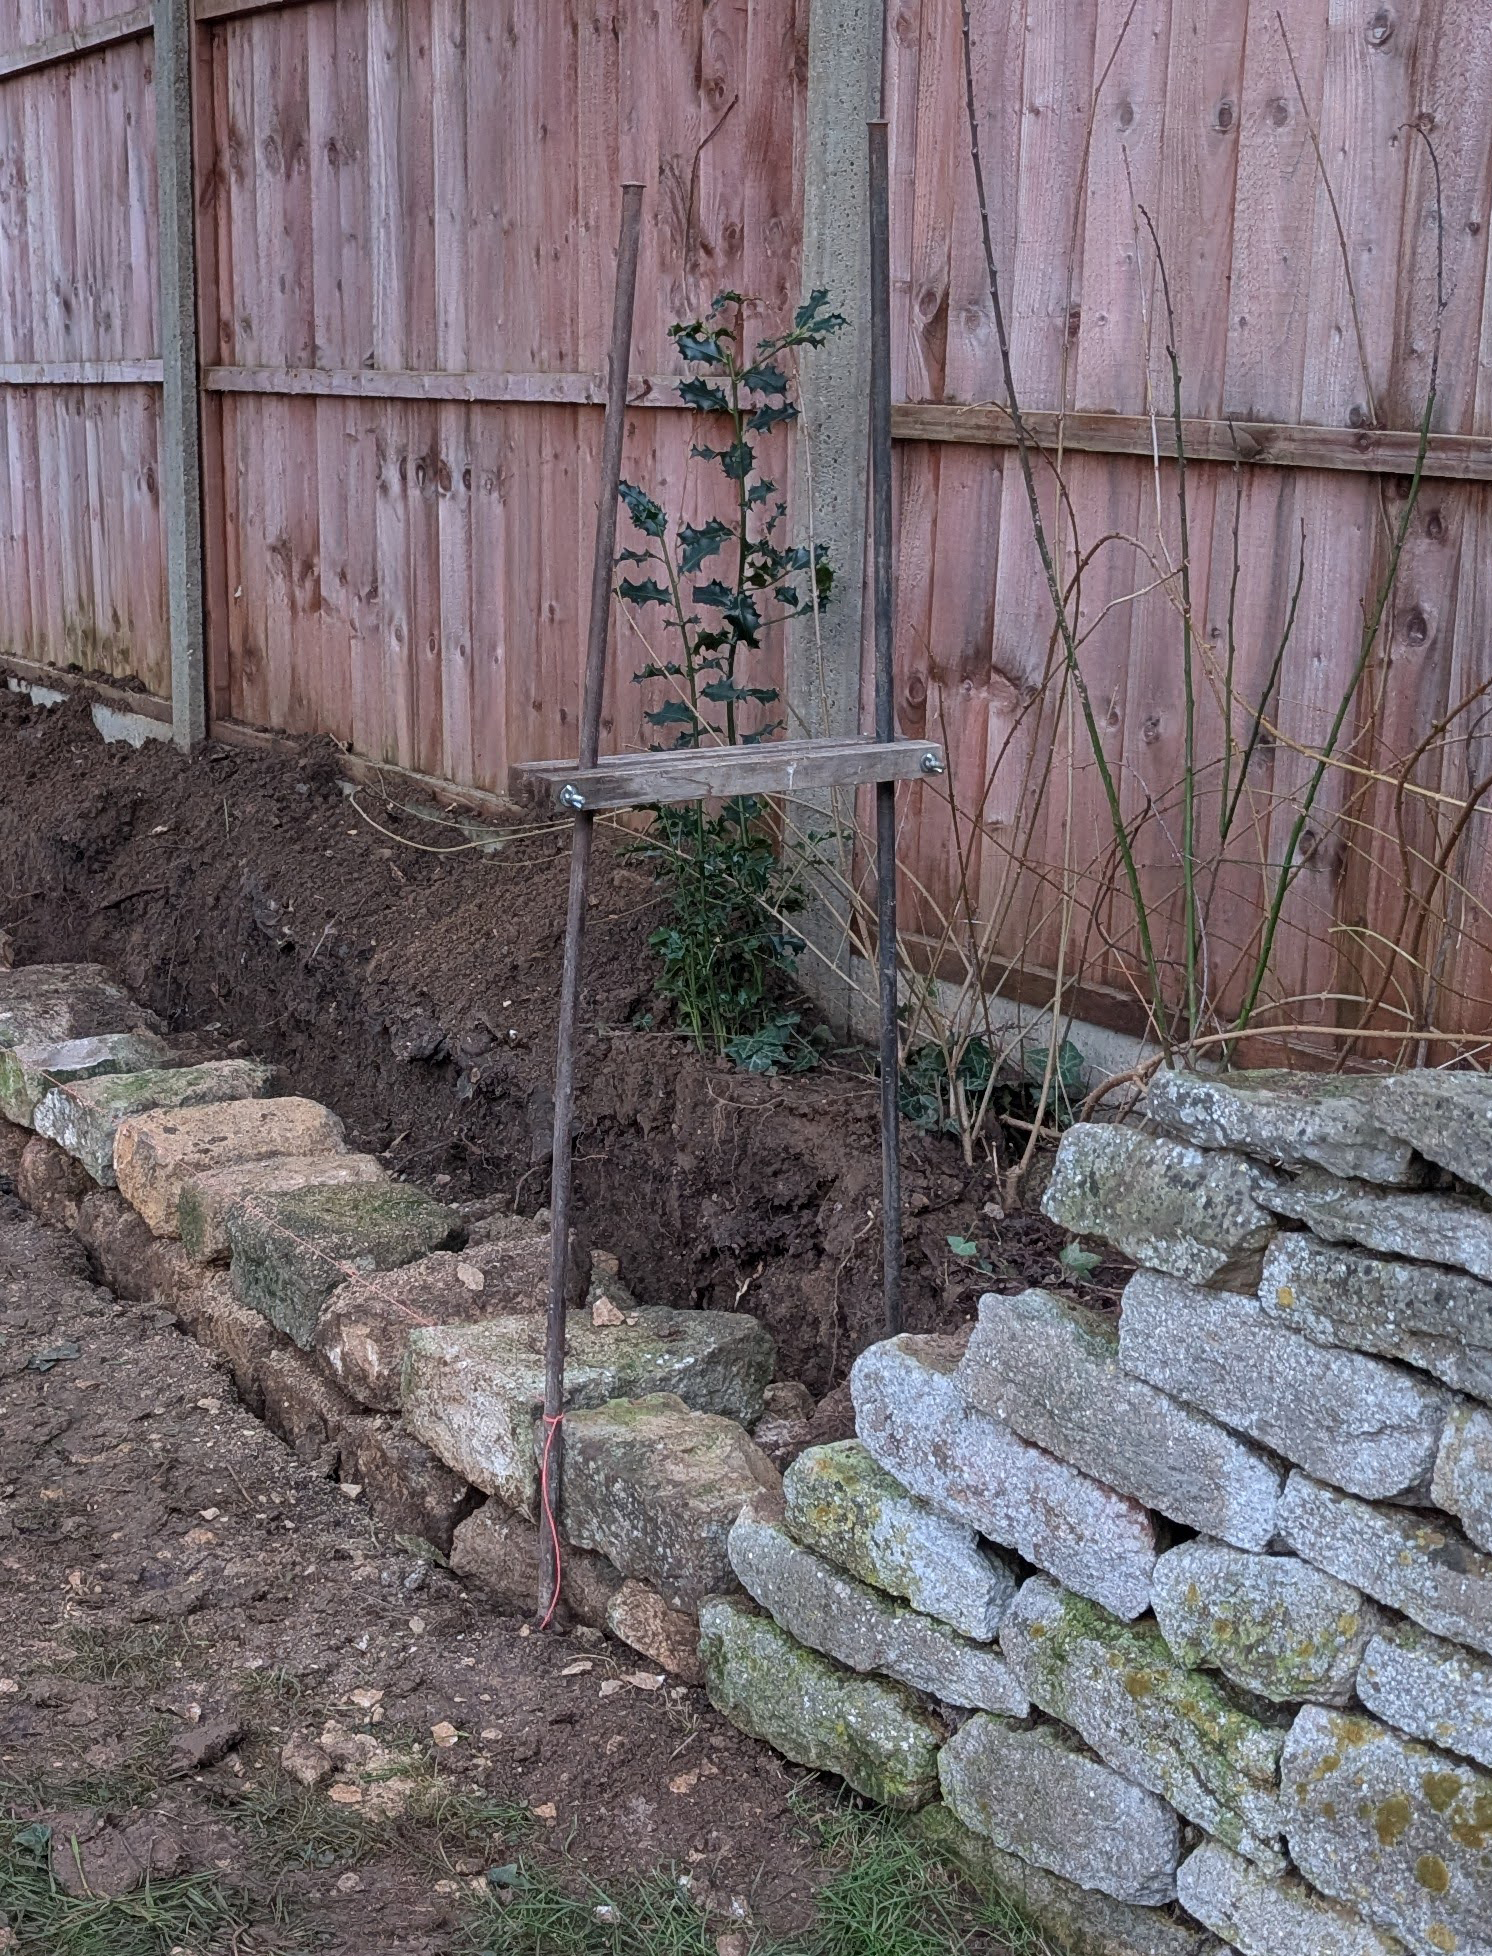
The trench should be dug taking into account the width of the base stones. If there is a shortage of larger stones, don't dig the trench unnecessarily wide. With the stone that is available in Northamptonshire, there is often a shortage of large stone so I would typically aim for a foundation width between 50 - 60cm for a 1.2m high wall. This will vary depending on the type of stone available, regional variations and the height of your wall. If you are unsure then consult a professional.
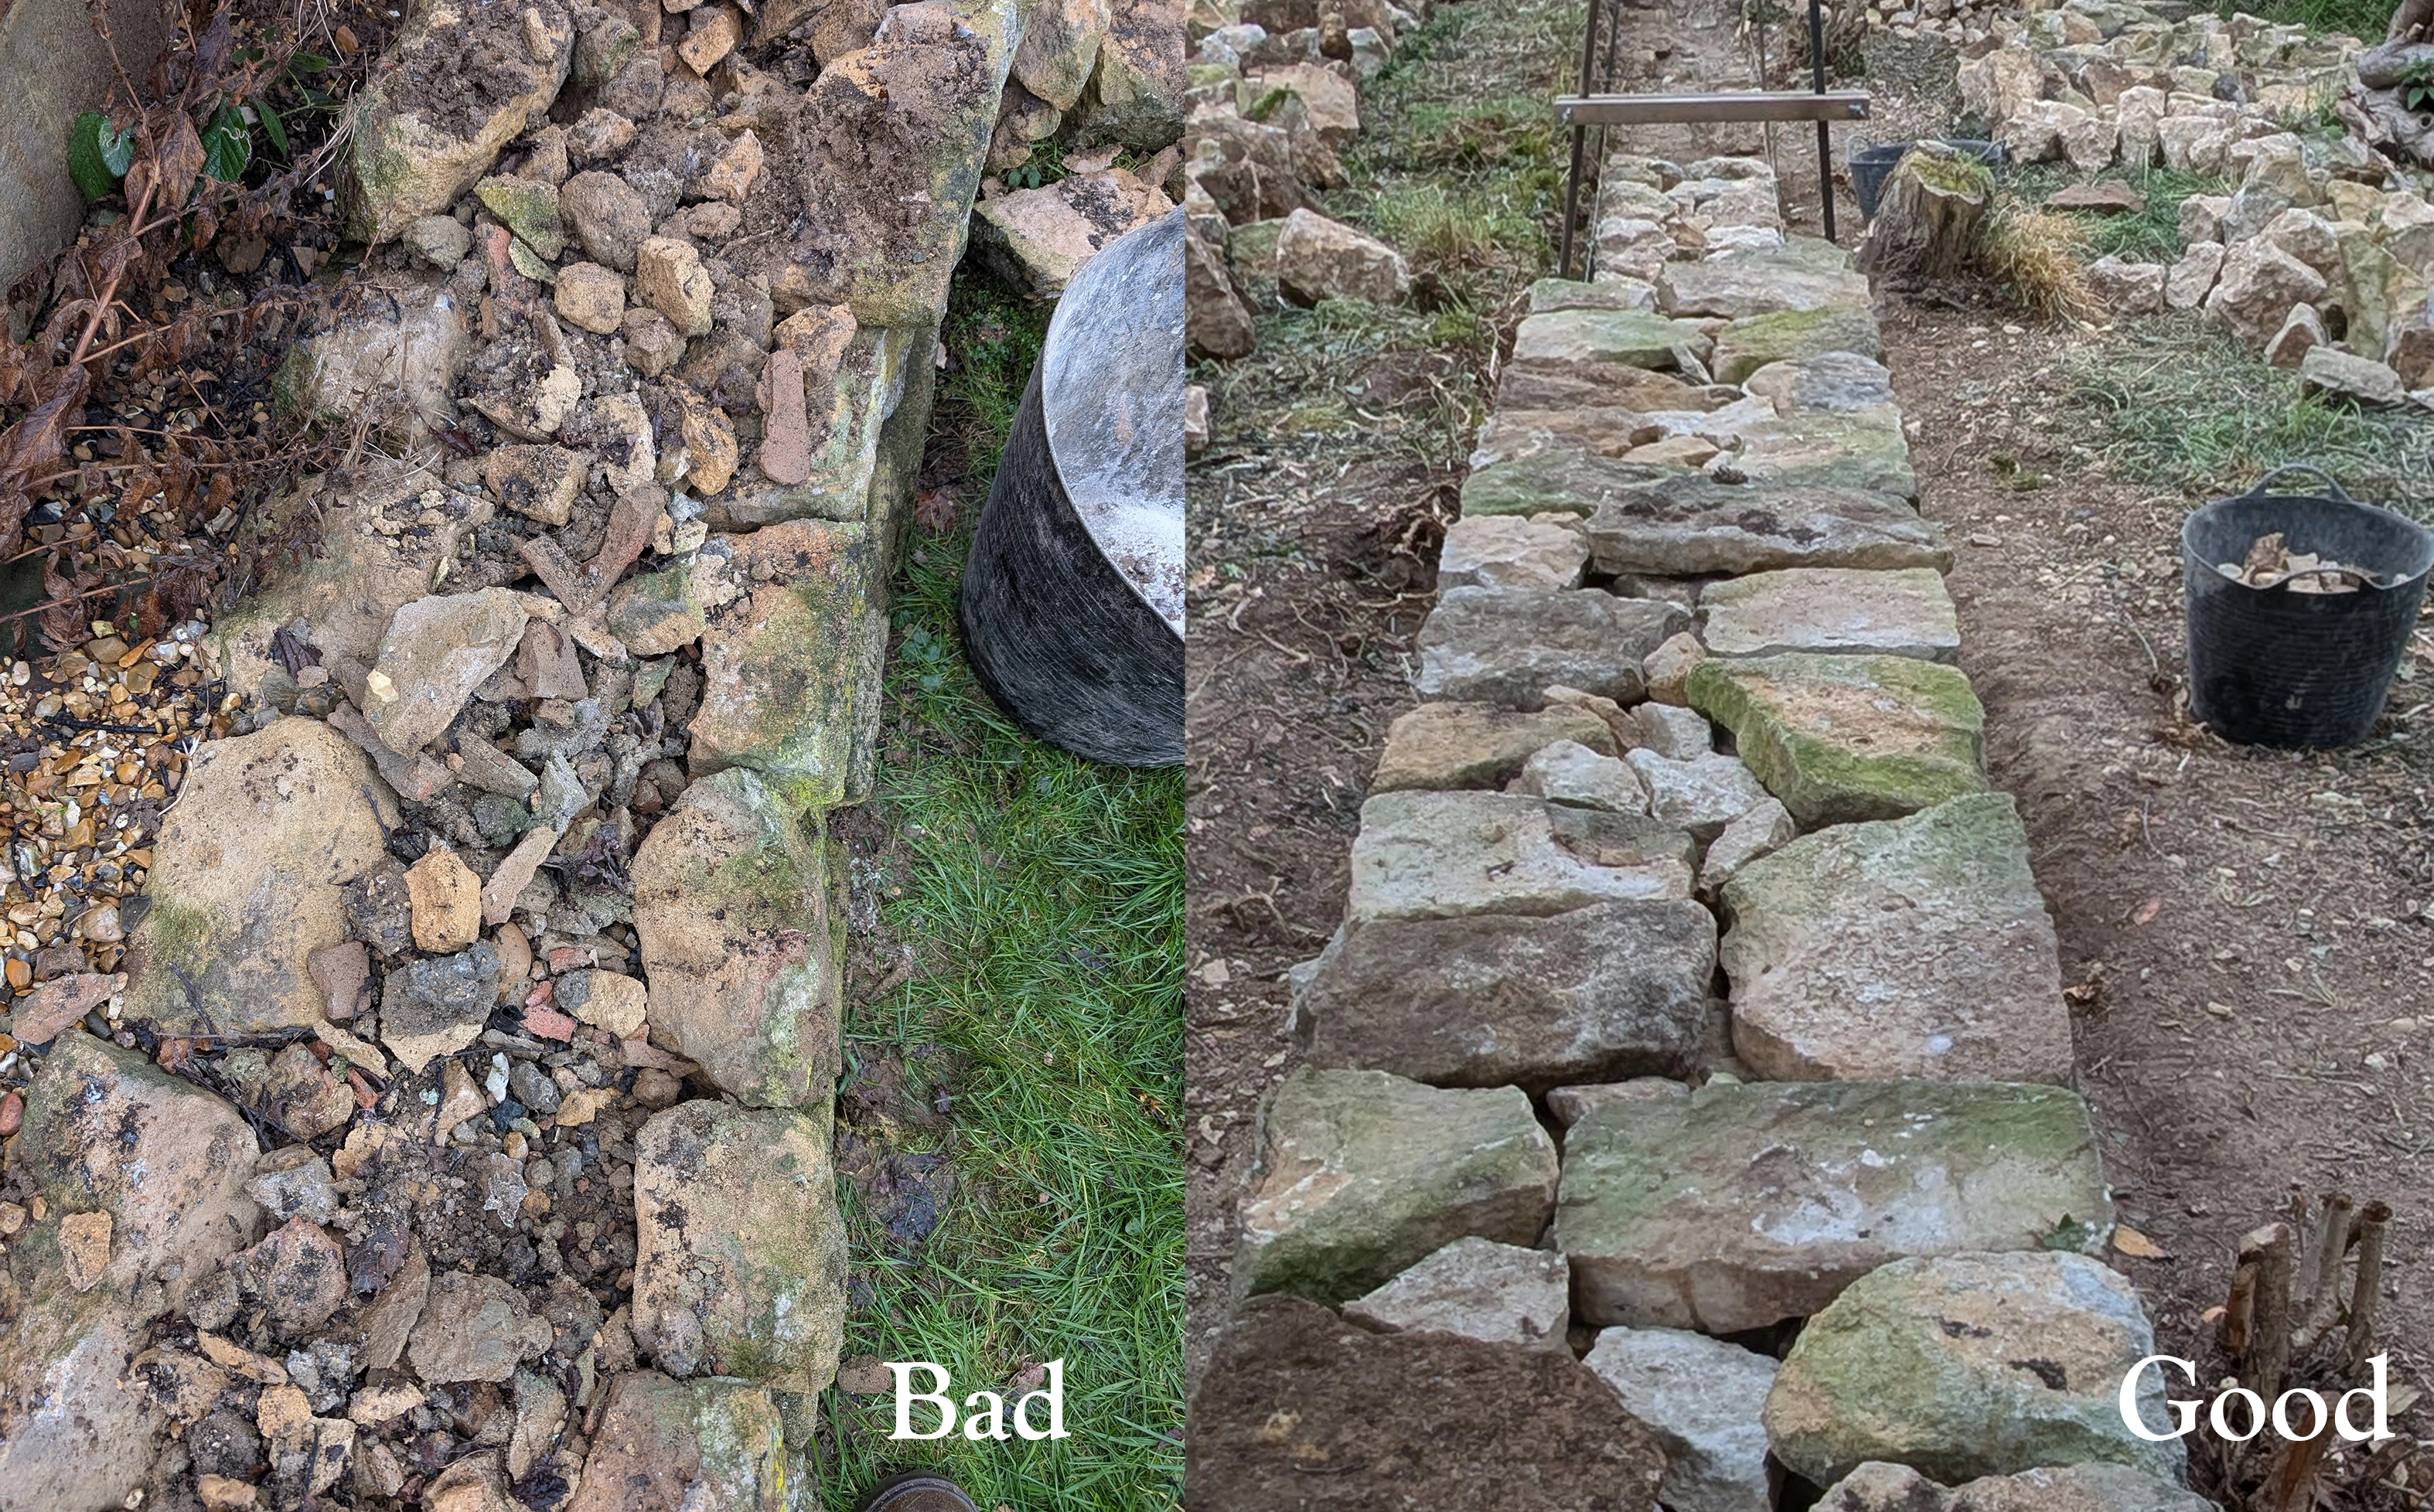
Use the largest stones at the base. Lay stones lengthways into the wall, never trace along the wall, ensuring they sit solidly without rocking. Use large hearting stones to lock the base stones together.
Laying the walling stone involves selecting and placing an appropriately sized stone for this section of wall, 'pinning' it in place with a wedge (or 'pin') and then repeating in a methodical manner. A 'pin' is simply a small wedge/shard of stone that shores up the walling stone to stop it from rocking. You want each stone to sit comfortably on the 2 stones beneath it.
Starting with the largest stones first, lay the walling stone in layers (otherwise known as courses). Concentrate on 1 course at a time. Construct the front course first, then go and construct the back course. Once both courses are built then you can move onto filling (hearting) the wall with small interlocking stones. On the next course, ensure that each joint of the previous course is overlapped. This is vital to creating a bond between each stone.
Fill the centre of the wall with tightly packed smaller stones (hearting). This locks the wall together and prevents movement. Avoid gravel. Stones should be locked and packed in together, not just poured loose into the middle.
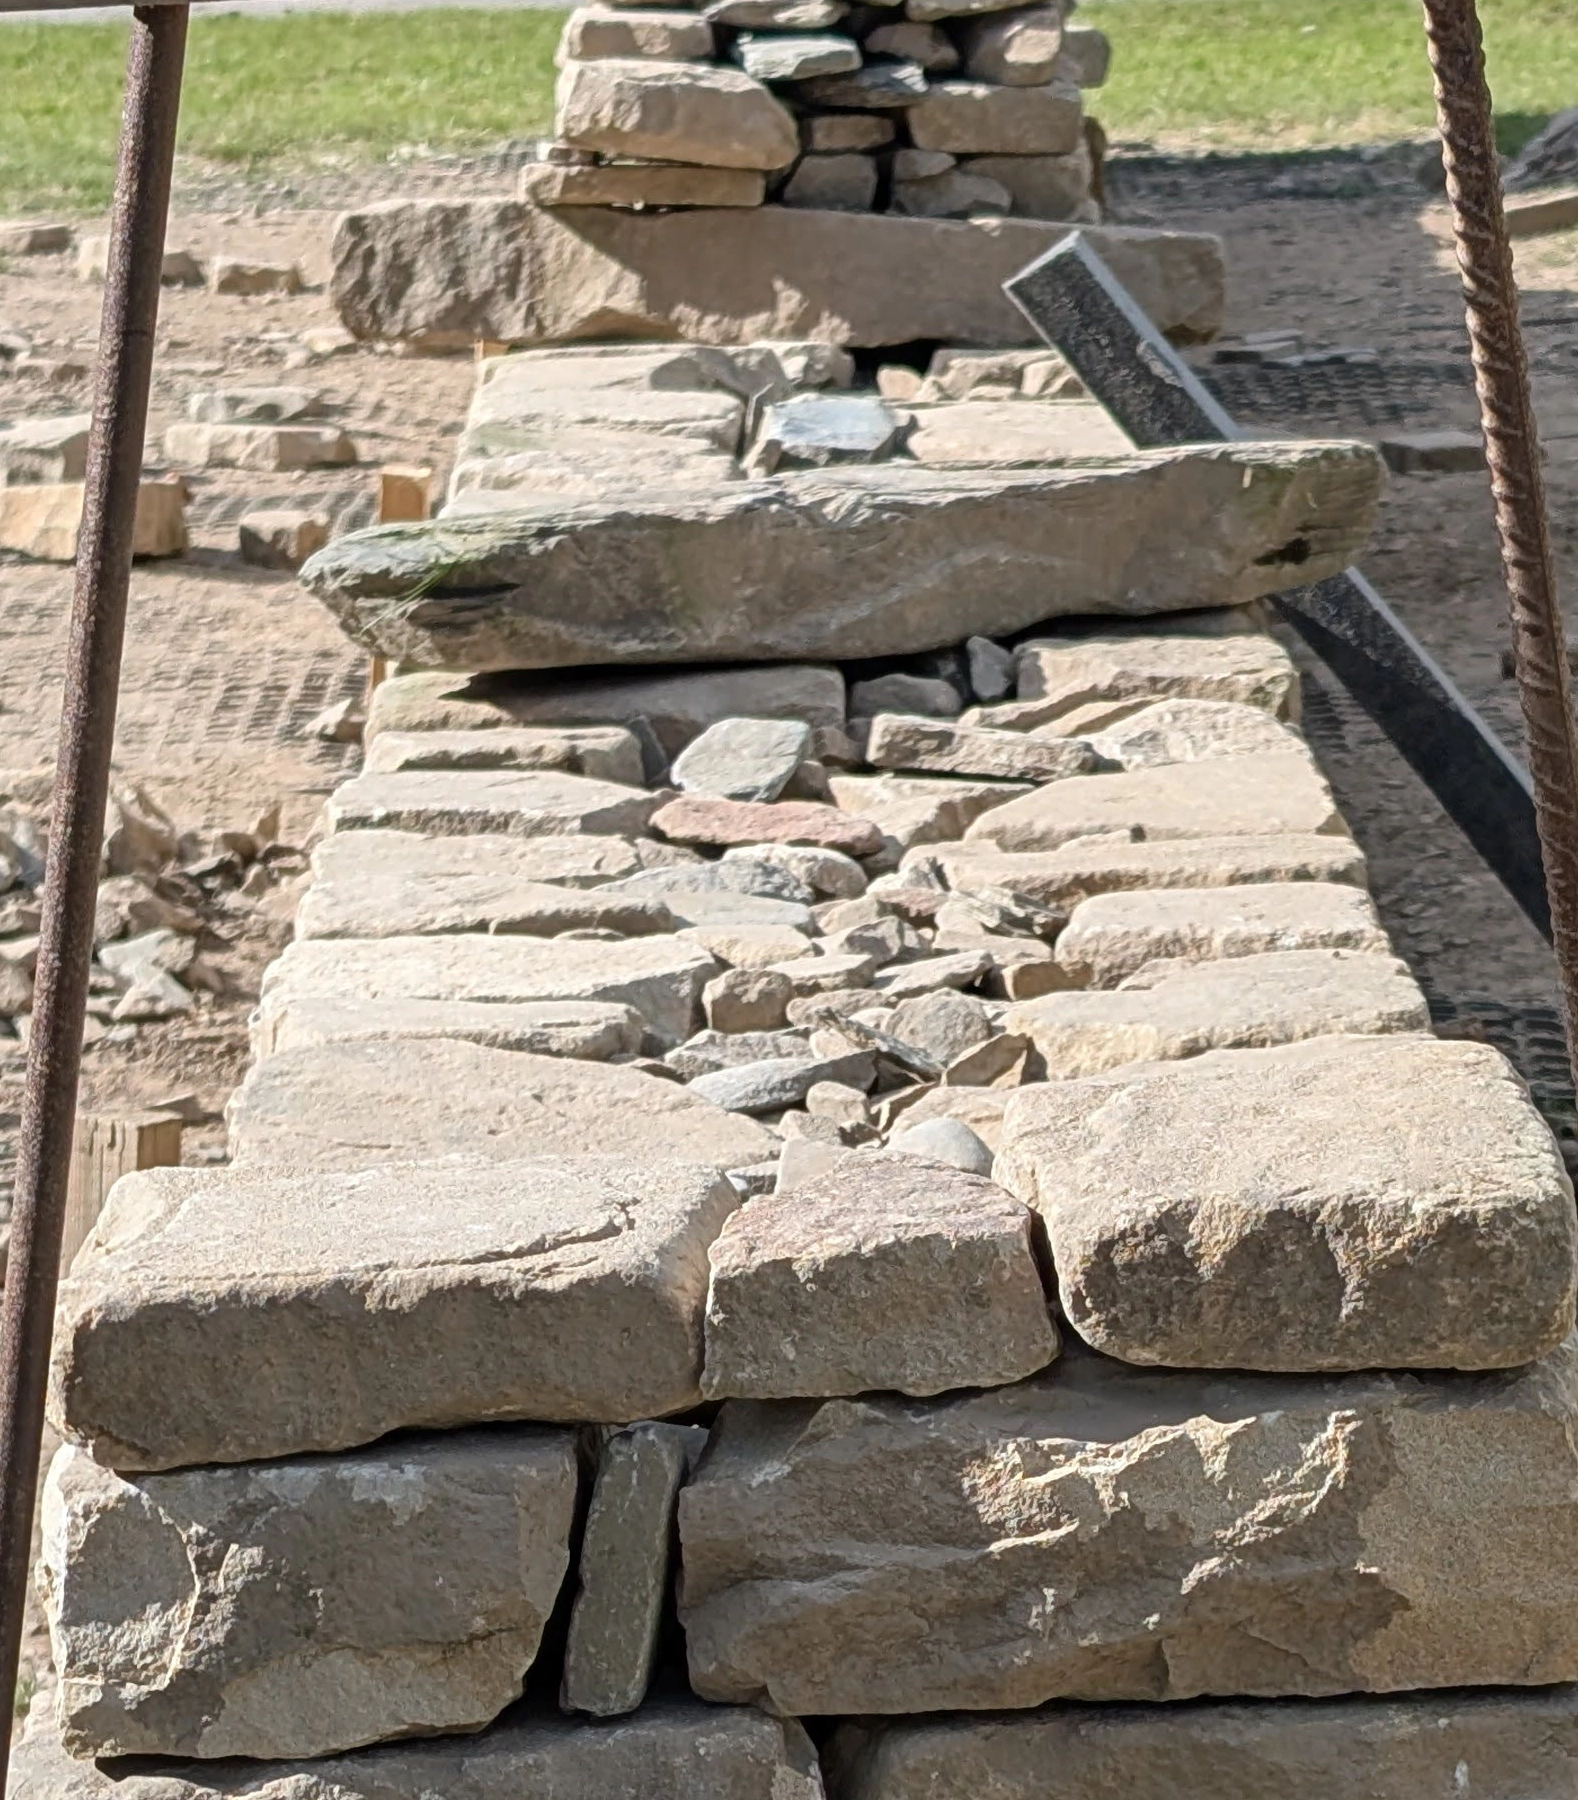
Through stones should be added once the wall reaches knee height. These span the full width of the wall and are essential for strength and longevity. They should be placed every metre along the wall, should touch 4 stones and be nice and stable. Be careful to avoid running joints around through stones. Ensure there is sufficient packing/hearting stones beneath the through stone.
Continue building evenly, maintaining the batter and checking alignment with string lines. Work through the sizes of stone. The largest stones should be used towards the base with the smallest stones towards the top of the wall.
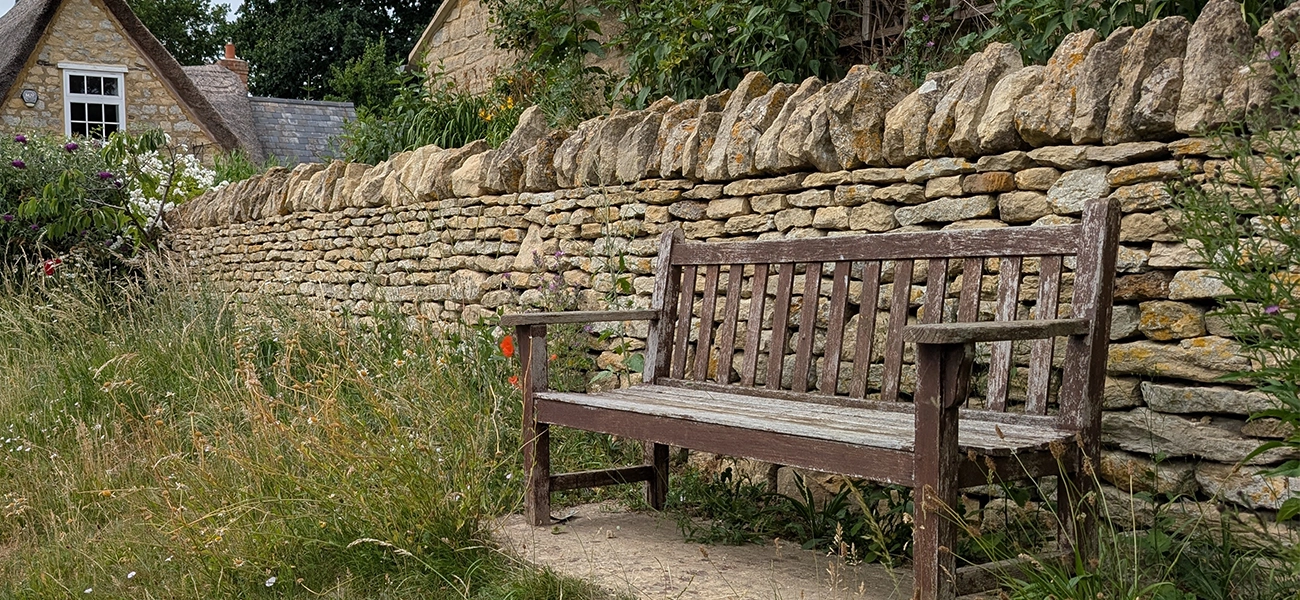
Finish the wall with coping stones, such as cock n’ hen copings, to protect the wall from weather and add weight to the top.
These are issues we regularly see on DIY builds:
Avoiding these mistakes dramatically increases the lifespan of your wall.
Dry stone walling can be tackled by confident DIYers, particularly for:
However, professional wallers are recommended for:
If you’re interested in learning properly, we always recommend formal dry stone walling training courses to build technique and confidence. We can even work with you on your own project giving advice and training along the way.
.png)
A correctly built dry stone wall requires minimal maintenance.
Occasional upkeep may include:
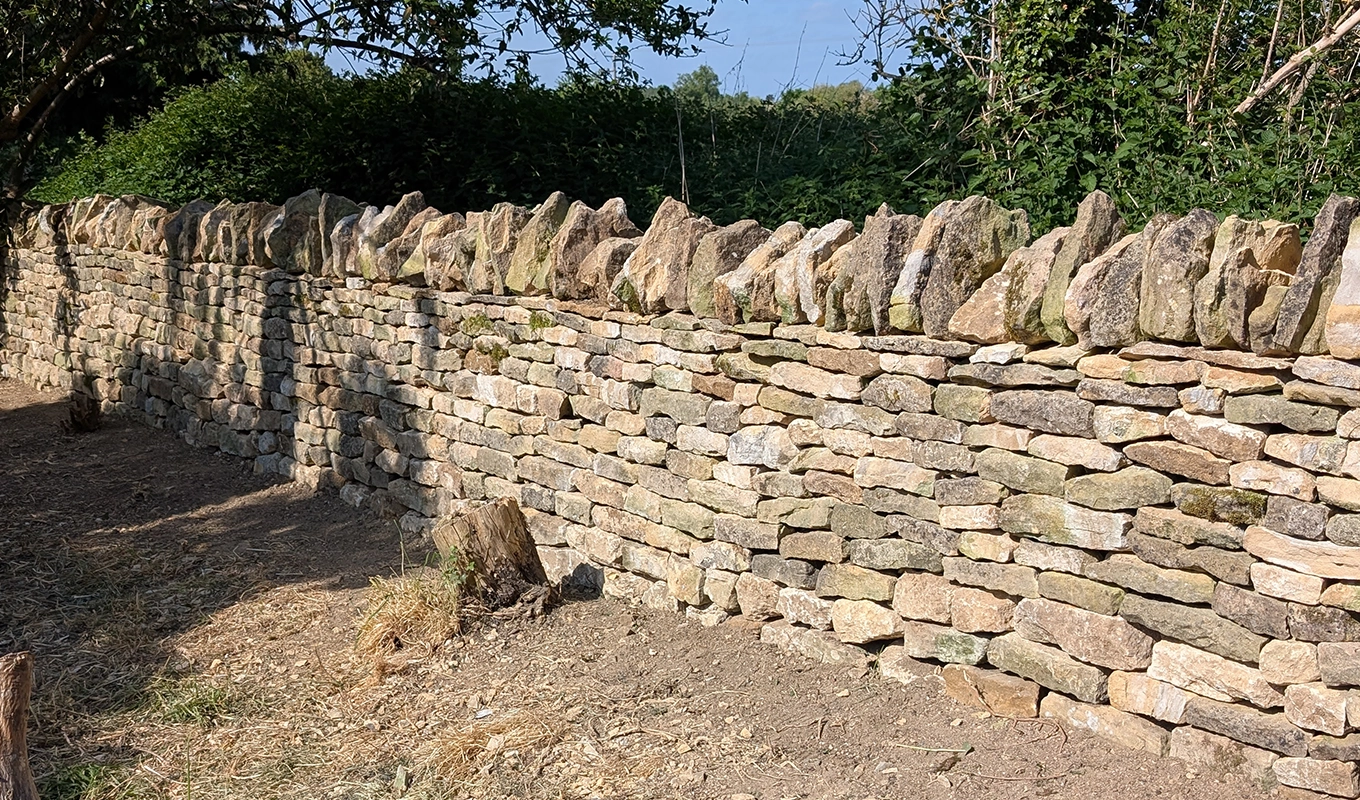
With proper construction, dry stone walls can last decades or even centuries.
Costs vary depending on:
For DIY projects, cost is largely in the stone supply. Expect to pay between £200 to £300 per tonne for good quality dry stone walling stone. This will cover approximately 1.25m² of double sided dry stone wall.
When hiring a professional, cost reflects labour, skill and experience, which directly impacts durability and finish. The desired finish of the wall and regional variations have influence over the cost of a profesionaly built dry stone wall.
We supply high-quality limestone dry stone walling across:
Northamptonshire, Lincolnshire, Leicestershire, Bedfordshire, Rutland, Warwickshire and the East Midlands.
We work with:
We’re always happy to:
If you’re planning a dry stone wall and want advice from experienced wallers who actively build and supply stone, get in touch — we’re happy to help.

